Tutorial Setting Up a Home Media Server for Streaming
Setting Up a Home Media Server with Sonarr, Jackett, qBittorrent-nox, and Plex Media Server
In the era of digital media, having a home media server allows you to centralize and manage your media collection while enjoying seamless streaming across devices. In this article, we will guide you through the process of setting up a home media server using a mini PC, along with popular software tools like Sonarr, Jackett, qBittorrent-nox, and Plex Media Server. This comprehensive setup will enable you to automate content downloading, manage metadata, and stream your media effortlessly.
Requirements: To follow this guide, you will need the following:
- A mini PC or a low-power computer that can run 24/7.
- Sufficient storage capacity to store your media library.
- A stable internet connection.
- An understanding of basic networking concepts.
Step 1: Set Up the Mini PC:
- Install a suitable operating system on your mini PC, such as Ubuntu Server or Debian.
- Ensure that your mini PC has a static IP address to simplify future configurations.
Step 2: Install qBittorrent-nox:
- Install qBittorrent-nox, a lightweight, headless torrent client, on your mini PC.
- Configure the necessary settings, including ports and download locations.
Step 3: Install Jackett:
- Install Jackett, a service that acts as a proxy between Sonarr and torrent trackers.
- Set up Jackett to index various torrent trackers and provide an API key for future integration with Sonarr.
Step 4: Install Sonarr:
- Install Sonarr, an application for managing and automating TV show downloads.
- Configure Sonarr to connect with Jackett and qBittorrent-nox.
- Set up your preferred indexer(s) and quality profiles.
- Add your desired TV shows and let Sonarr handle the rest.
Step 5: Install Plex Media Server:
- Install Plex Media Server, a powerful media streaming platform.
- Set up your media library by specifying the folders containing your media files.
- Configure the necessary settings, such as remote access, transcoding, and subtitles.
Step 6: Automate Downloads with Sonarr and qBittorrent-nox:
- Search for TV shows within Sonarr and let it send the download request to qBittorrent-nox.
- qBittorrent-nox will download the desired content, and Sonarr will automatically organize and update your library.
Step 7: Stream Media with Plex:
- Access your media library through Plex on any device connected to your network or remotely.
- Install the Plex app on your preferred devices for a seamless streaming experience.
Step 8: Optional Enhancements:
- Consider setting up a VPN for secure torrenting and remote access.
- Explore additional features like Radarr (for movies), Ombi (for user requests), or Tautulli (for analytics and monitoring).
Conclusion: Setting up a home media server with Sonarr, Jackett, qBittorrent-nox, and Plex Media Server can transform your media consumption experience. By automating downloads, managing metadata, and streaming content effortlessly, you'll have a centralized and accessible media library tailored to your preferences. Remember to regularly update your software tools and maintain proper security measures for a smooth and secure media server experience. Enjoy your favorite TV shows and movies from the comfort of your home!
How-To Geek
Key Takeaways
- Pick a device to use like an old computer, NAS drive, or something more specific you've bought or built yourself.
- Install your choice of server like Plex, Jellyfin, Emby, Kodi, Universal Media Server, or similar.
- Use a dedicated app, web interface, or DLNA/UPnP streaming to access your media from just about any device.
A home media server lets you watch videos and listen to music files that you already own over your local network or remotely over the internet. Pick the device you want to use, load it with storage, install your media server of choice, and get streaming.
A media server doesn't necessarily need to be running on the most powerful computer in your house, but your expectations and the media you watch should guide your choices. If you're mostly concerned with streaming up to HD (1080p) quality without too much concern for the best quality image, you'll be able to get away with older hardware.
For higher bitrate content at resolutions like 4K and extra features like HDR, you're going to need more capable hardware. If you expect to have more than one person streaming at a time, your hardware requirements will be higher. You'll also need to make sure that your network can handle the traffic.
The minimum system requirements for a server like Plex are modest, starting with an Intel Core i3 and around 2GB of RAM. This rockets up to an Intel Core i7 running at 3.2GHz for a single 4K transcode. Have a look at the Plex CPU guidelines for more information.
There are a few basic things to remember when picking hardware for a media server (or a media center with server capabilities):
- The server should always be on and connected to the network.
- It should have plenty of storage available, with room for more if necessary.
- Keyboard and mouse access is nice but not always necessary (use remote access or a web interface instead).
- If you depend on transcoding (converting the video on the fly, often required for remote streaming and enabling "burned-in" subtitles), your hardware requirements will be a lot higher.
You might be able to give an old laptop new life by using it as a media server or media center. You won't necessarily need the latest version of Windows or macOS to run many of the most popular media servers. In fact, apps like Plex and Kodi have versions made especially for single-board computers like the Raspberry Pi.
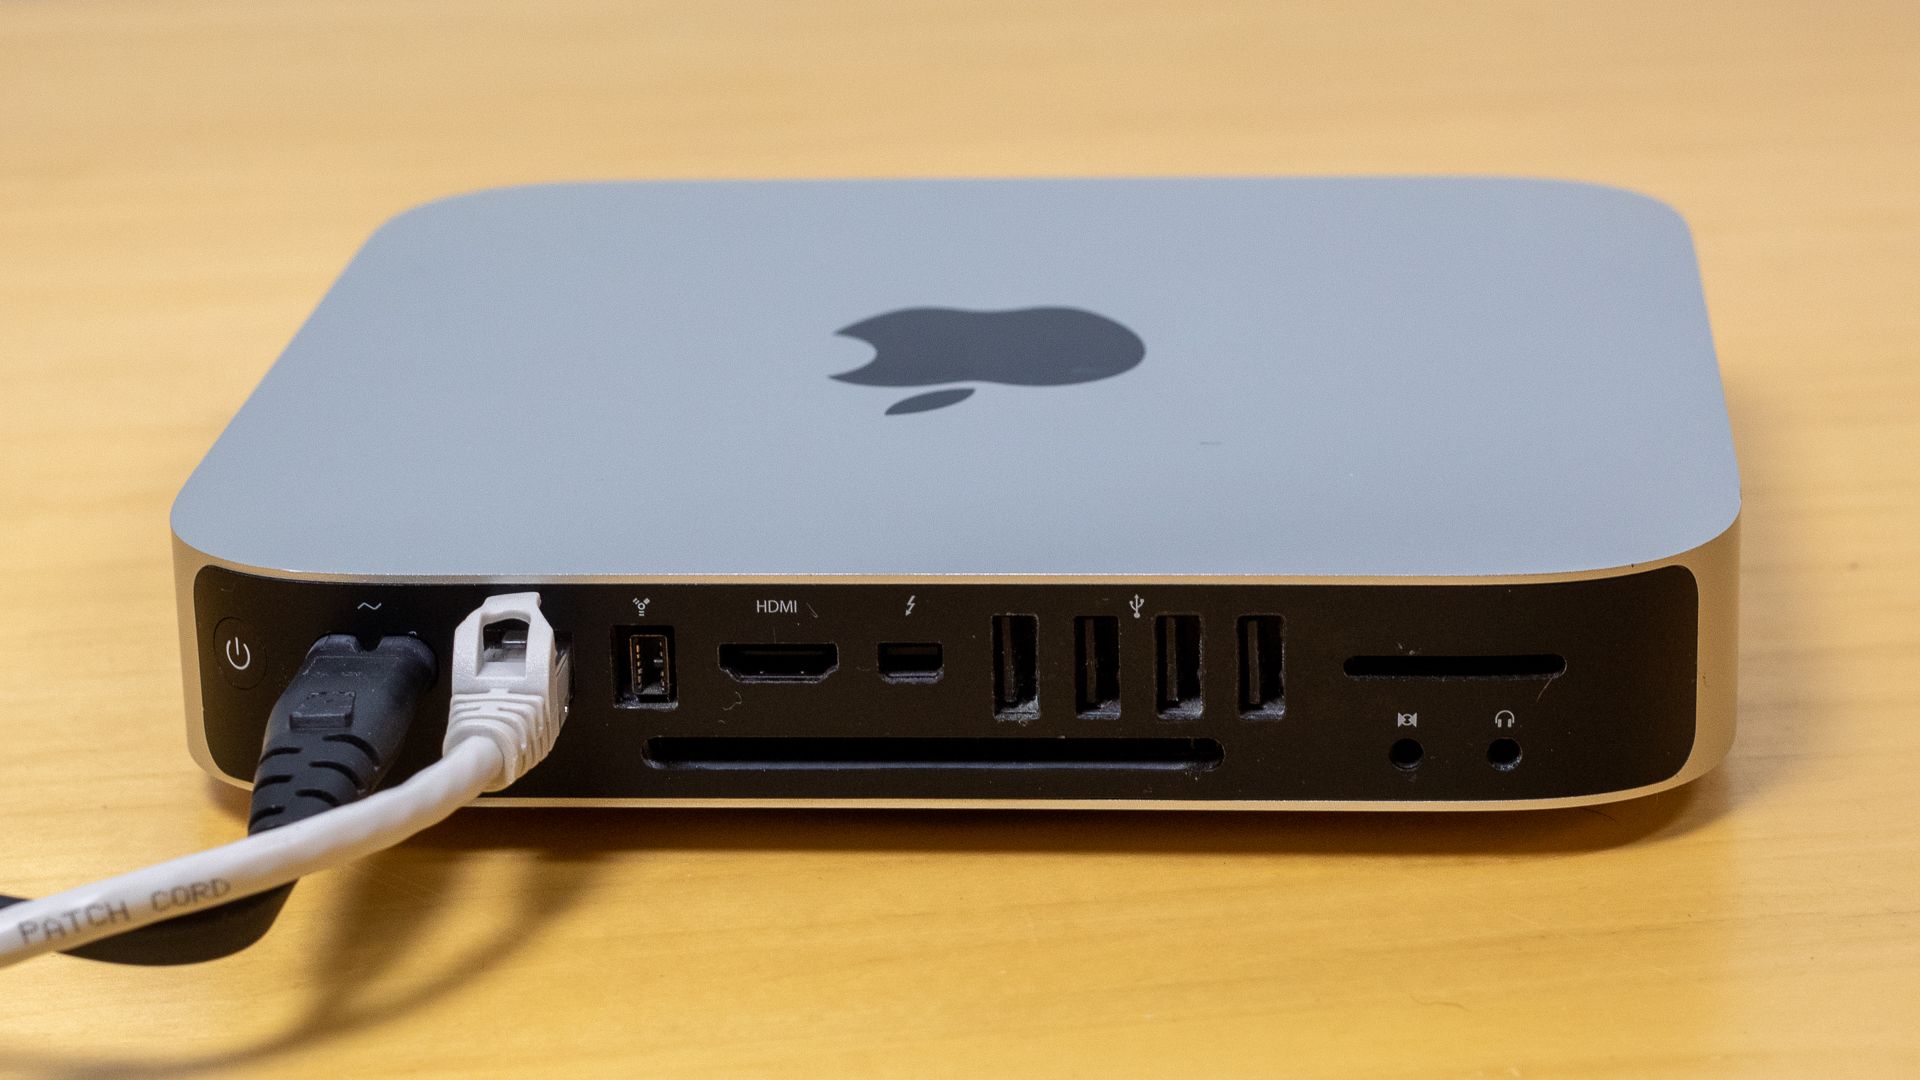
Mini PCs are good choices if you're buying something specifically for use as a media server. Apple's Mac mini is one of the best mini "PC" options#1for its reasonable price point, near-silent operation, range of ports, power efficiency, and overall performance. An older Intel NUC is also a solid choice and can be found even cheaper on the used market.
Related: 5 Reasons You Should Buy a Mini PC (and 3 Reasons Not To)
Choose Which Software You Want to Use
Picking the right software to power your media server largely depends on your intended usage. There are a few routes you can take with this, including both premium options and open-source freeware.
The first option is to use a media server like Plex. This is server-and-client solutions, where your main server runs on a computer that sits somewhere on your network. It can be configured and maintained using a web interface from any other device with a browser and accessed using purpose-built Plex apps, DLNA/UPnP streaming, or even the web interface.
Jellyfin is a free alternative to Plex that offers very similar functionality without requiring the paid subscription for any features. Plex requires a paid Plex Pass for access to features like hardware transcoding and unlimited mobile streaming. Plex makes it easier to access your media outside of the home, and there are more client applications available. Jellyfin is free but lacks the wide compatibility of Plex. Emby is similar to Jellyfin, except it's closed-source and has premium elements.
Both Jellyfin and Plex operate using client apps and DLNA/UPnP streaming. If there are no client applications available for your device, you can stream the old-fashioned way instead. Another application that offers the same local streaming functionality is Kodi.
Kodi is a good choice if you want your media center device (the computer your server is running on) to also act as a media center hub. This free and open-source project has a clean and functional front end that works best when plugged into the TV you're watching. You can massively expand its capabilities with emulators and games, plugins, themes, and more.
Related: Kodi vs. Plex: Which is Best For You?
A Kodi media center allows you to watch high-quality media at high resolutions on (for example) your big TV in the living room without worrying about network performance. You can then use local streaming to watch your media on other devices around the house.
Finally, you can opt for a more barebones media server experience by relying solely on DLNA/UPnP media streaming. Run a server like Universal Media Server or Serviio on the computer that stores your media, then access it on DLNA-compliant devices like TVs, set-top boxes, and applications like VLC. There's no fancy interface, though if you use Plex as a DLNA server you can use the same database organization features.
There's no single "right" app for everyone. Your choice of software largely depends on the hardware you're using. There's no harm in trying a few solutions to see what works for you. Check out our full list of Plex alternatives for even more options.
Related: 5 Best Plex Alternatives
Once you've installed and configured your media server (which shouldn't take long, regardless of which software you choose), it's time to start consuming media. How you go about this depends on what you've chosen.
There's a Plex client app for just about every platform, including mobile, desktop (including Linux), most smart TVs, and set-top boxes like the Apple TV and NVIDIA Shield. Failing that, you can access your Plex library via a web browser. Log in to your Plex account on your chosen device and access media locally or remotely.
There are client applications for Jellyfin, too, including media players for desktops (including Linux), a Kodi plugin for accessing Jellyfin content, mobile apps for iOS and Android that lack streaming limitations, and even smart TV apps for platforms like webOS and Android TV. Like Plex, you can also use a web browser.
If you're using DLNA/UPnP for streaming (whether that's using Plex, Jellyfin, Kodi, or a simple streaming application like Universal Media Server), streaming should "just work" on compatible devices. How this works depends largely on the device you're using, but smart TVs often show media servers in the list of available sources. Set-top boxes like the Apple TV will need an app like VLC to play content over the network.
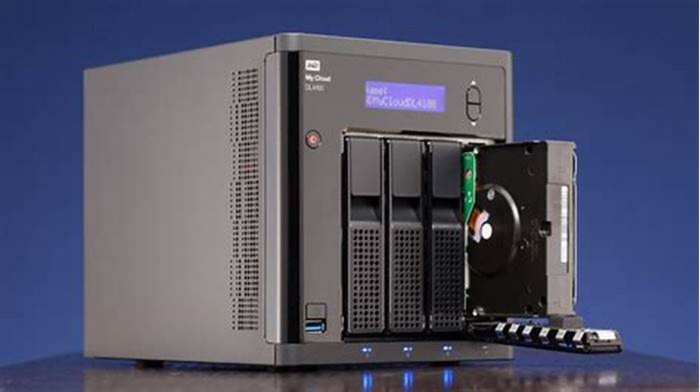
If you have a network-attached storage (NAS) drive, you may be able to install a media server on it and share media that way. NAS drives are convenient in that they are dedicated devices that you "set and forget" to provide network-based storage. They're always on and can be placed near your router and connected via Ethernet for the best performance.
The term "NAS" refers mostly to the enclosure, which usually has space (known as "bays") for drives. You can buy NAS enclosures without any storage at all, or you can choose to upgrade storage (ideally with quality drives designed for use in a NAS) as your needs grow. There's a NAS out there for every budget and use case, but the more you spend, the more capable your drive will be.
Some of the best NAS devices cost more because they're better suited to media transcoding. Older or weaker models might not fare so well with high resolution or high bitrate content. You can even build your own NAS drive out of an old computer.
Plex has packages available for Synology, TrueNAS (formerly FreeNAS), Western Digital, and unRAID devices (as well as many others). You'll need to use your drive's web-based interface to install and configure your media server.
Jellyfin can be installed on some NAS drives (like Synology) using the containerized application platform Docker. Universal Media Server also comes with a Docker package. Serviio comes with packages for Synology and QNAP NAS drives. Many platforms (like TrueNAS) come with one-click installers for plugins that you can access from the web-based admin interface.
Whatever you choose, making sure you have enough storage available is key. As your media collection grows, so too will your data footprint. The good news is that storage becomes cheaper over time, but how much you'll end up paying depends on what type of storage you go for.
Hard disk drives (HDDs) are cheap and provide a lot of storage for the money. Because they use magnets and spinning platters, they're also more prone to failure. You might be interested in configuring your media server in RAID 1, which mirrors one drive to another, if you're concerned about data loss. The downside here is that if you purchase two good 4TB drives, you'll only have 4TB of data available.
Solid-state drives (SSDs) are faster and less prone to failure. They use NAND flash rather than moving parts, and you don't have to wait for the hard drive to "spin up" before your server can start accessing the contents. They also happen to be more expensive than hard drives, though the price of a good quality solid-state drive has dropped. Don't waste your money on the best of the best; budget SSDs are a good option for media sharing.
If you're relying on a laptop, you may not be able to easily upgrade the internal storage. The same is true if you're using a single-board computer like the Raspberry Pi. In this instance, external drives are your best friend. You can get bothexternal hard drives and external solid-state drives, too, and they're subject to the same pros and cons as their internal counterparts.
If you're doing a media server on the cheap out of an old laptop or computer you no longer have a use for, using your old internal and external drives makes a lot of sense. Just be aware that old hard drives are especially susceptible to catastrophic failure. It's a good idea to be aware of the signs of a failing hard drive, just in case.
Depending on the platform you've chosen, you can probably do even more with your media server. For example, platforms like Plex and Kodi have built-in plugin databases that can massively increase your options in terms of streaming.
Consider installing a BitTorrent client that you can access via a web interface (like Transmissionor qBittorent) for managing downloads. If you're using Kodi, you can use a plugin like the Internet Archive Game Launcher to access the huge number of games available on the Internet Archive.
Now you've got a media server ready to go, consider buying a fancy new TV on which to enjoy your media.

