The Ultimate Tutorial on Using Adobe Lightroom for Photo Editing and Enhancement Perfecting Your Photos nan
How I Edit My Photos for Instagram
When I started thinking about leaving my job to become a full-time content creator back in 2018, I knew that if I wanted to be taken seriously, I needed to level up my photo editing.
It has been a gradual learning process for me ever since thenlots of trial and error, lots of bad (and I meanreallybad) photos, and hours upon hours of studying editing techniques from talented photographers and creators via YouTube tutorials (and TikTok!)
Now that weve been stuck inside for nearly 5 months, Ive had a LOT of time to hone my craft even further, and I feel like Ive definitely found my groove in terms of editing photos and creating a more cohesive Instagram feed + overall brand.
So, if theres one positive that has come out of being quarantined, its that I finally took the time to do & learn things I otherwise would never have gotten to. When life gives you lemons, as they say
Anyway! Youre not here to read about personal development and self-improvement. Youre here to learn how to edit photos for Instagram, or wherever it is that you post them. I will preface this article with a disclaimer: I am not a professional photographer and Im not a professional photo editor. I do, however, make a living from the photos and content that I post, so do with that what you will.
The advice that Im sharing is purely how I edit my Instagram photos but remember that theres no right or wrong way! Everyone has their own taste and style. Lets begin!
How I Edit Photos for Instagram
Things I Use:
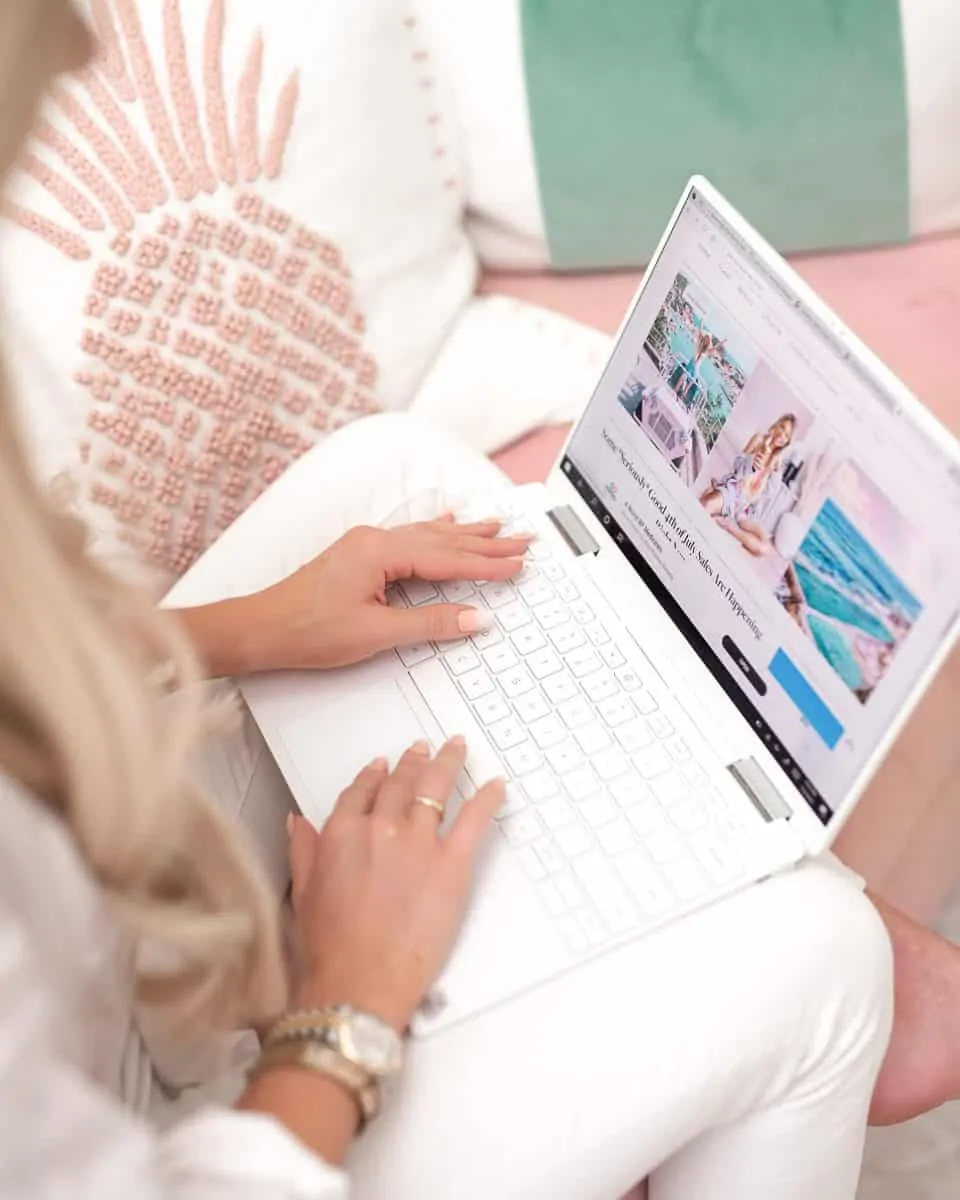
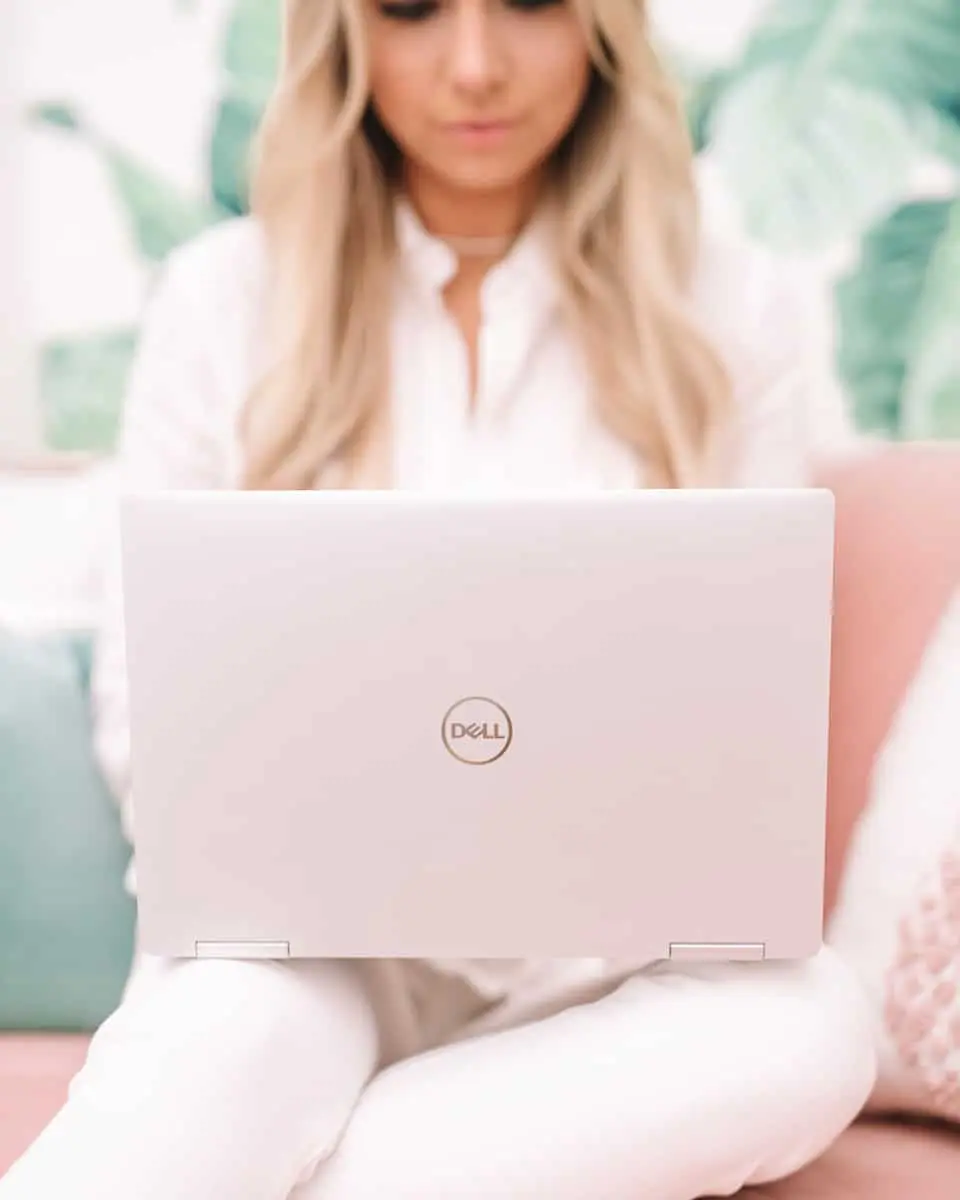
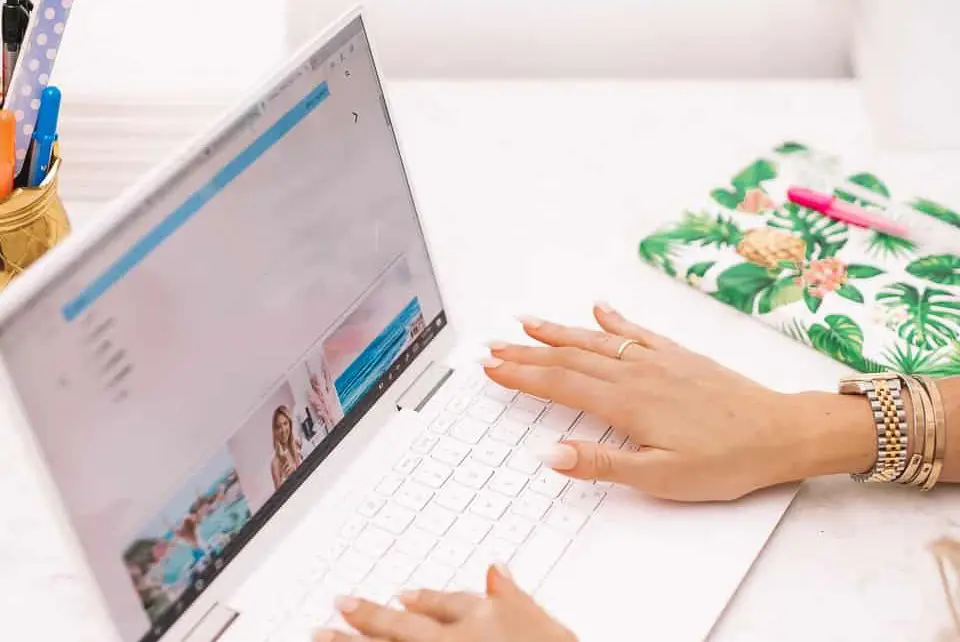
- LAPTOP: Dell XPS
- I love editing on the Dell XPS because I find the image quality to be better than my Mac. You can tell just by looking at the photos of my screen throughout this post how insanely vibrant the display is. (There are a number of other things that Ive come to really appreciate about the XPS that Ill get into later!) Thank you to Dell for sponsoring this post!
- CAMERA: Sony A7iii Full Frame Mirrorless Camera (Lower Priced Option: Sony A7ii)
- LENS:Sony 28-70 mm lens (kit lens that came with camera)
- MEMORY CARD: SanDisk 128GB
- IPHONE: XS MAX
- EDITING SOFTWARE: Adobe Lightroom (I prefer to use Lightroom CC because it uses cloud-based storage and syncs with the Lightroom mobile app; the other option is Lightroom Classic, which has some additional capabilities, but lacks the cloud feature)
- The Adobe Lightroom mobile app is free, but if you want it on your desktop, its around $9.99/month.
The tutorial below will apply to both iPhone photos and photos shot on a camera.
Camera Settings Tip:
1. SHOOT IN RAW.
If youre shooting on a camera, my BIGGEST piece of advice would be to shoot in RAW rather than JPG. This is simply a setting that you can switch with one button on your camera. (Literally just Google name of your camera + how to shoot in RAW and youll find how to switch it on your specific model.)
RAW files are much larger, and much more detailed than JPGs, so they retain a lot more information, making the editing process much, much better.
2. TOO DARK IS BETTER THAN TOO LIGHT.
When youre shooting a photo, its always better for the original image to be slightly dark (underexposed) than too light (overexposed). Many photographers have told me this over the years, but I didnt fully understand it until I started experimenting with shooting and editing myself.
Its one of those things that youll *get* when you actually do it. The most important thing to know: in editing, its easier to lighten a dark photo than it is todarken a light photo. Thats an oversimplified explanation, but it should give you the general idea.
Step-by-Step Editing Tutorial
1. Import your photos to your computer.
I will usually start by dragging the photos from my SD card to my desktop. (On some laptops this can take a loooong time to load because of how large the files are, but I find it to be super fast with the XPS.)
I then import the photos to Lightroom.
2. Make your selects in Lightroom.

Once my images are dragged into Lightroom, Ill go through and narrow down the selection by unchecking anything that I dont like. At this stage, Im not choosing my all-time favoritesIm just quickly weeding out anything thats truly horrible.
For ex: photos where my the subjects eyes are closed, or the picture is out of focus, or the angle isnt right, etc. wont make the cut.
3. Add them to a pre-existing album, or create a new album.
In Lightroom CC, I like to organize my photos into albums based on a keyword or the location.
Some people prefer to name their albums based on datesbut I find that the keyword/location technique better suits my needs. (For ex: if Im looking for my photos from Japan, its much easier to remember that theyre in the Japan album rather than the March 2019 album.)
4. Select a photo to edit.
This is pretty self-explanatory
Also: youll notice that this photo is shot underexposed (i.e. its dark!) Thats because of what I mentioned above. Shooting slightly underexposed images are easier to edit than overexposed images.
OPTIONAL NEXT STEP: Apply a preset.
I have my own preset (aka filter) that I use on all of my photos to give my Instagram feed a cohesive aesthetic. But you dont necessarily need a preset in order to create a beautiful image its just a cool option that will give your photo a more unique, defined look. Its also a way to ensure that your feed has an overall consistency, which can be challenging if youre editing every single photo individually.
Ill go into presets a bit more later in this post, but I think its important to understand some basic editing steps first before you start playing with presets. (FYI: I dont currently sell my own, but as soon as I figure out how to do it, I promise youll be the first to know!)
Even without a preset, if you follow the below steps and stick to the same editing style for each photo, youll end up with a consistent appearance across your images.
5. Straighten and crop.
Often times I like to begin my process by straightening and cropping. The reason I do this before I edit is because it helps to give me a better idea of what the focus of the photo is, and how much detail Ill need to go into when editing.
For example, if I decide to leave it as a wide crop where the subject is far away, Im not going to bother editing out a wrinkle in the dress or a piece of hair thats out of place.
However, if I decided to crop in closely, Ill know that Im going to have to spend more time fixing details like the wrinkle or a blemish.
6. Exposure (aka brightness).
The next thing I address is the exposure or brightness of the photo. I like my photos to look really bright and airy (but its important not to get too carried away or the photo will end up looking blown out.)
You can play with the Exposure slider a bit by dragging it back and forth until it reaches a place that looks good to you.
For most of my photos, the sweet spot is somewhere in the +.5 to +1.0 range.
I usually dont increase the exposure beyond +1.5, unless the photo is suuuuper dark.
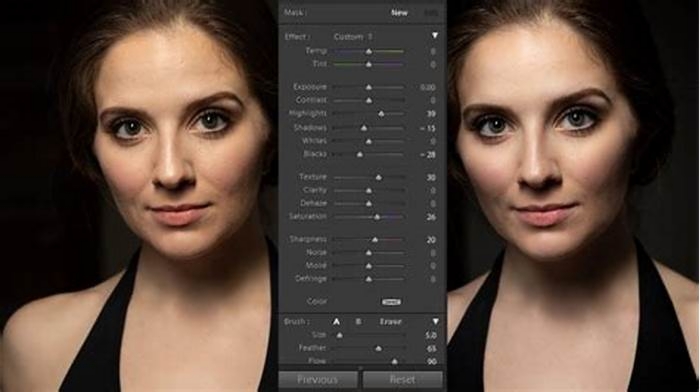
7. Highlights, Shadows, Contrast, Whites & Blacks.
I typically decrease my highlights, increase my shadows (a lot), and *slightly* increase the contrast (but sometimes I dont touch it at all.) I find that this combination gives the photo the bright and airy look that I prefer.
I then increase the Whites slightly and bring the Blacks down a tiny bit.
For people who are going after a darker, more moody look, Whites & Blacks are a good place to achieve that. If you decrease both, it creates a darker, moodier vibe.
Theres no hard and fast rule in terms of ideal numbers for the above it really varies for each photo based on the lighting it was shot in, and what looks good to you.
8. Temperature & Tint.
Temperature deals with how warm or cool you want the photo to look. Drag the slider to the left toward blue, and the image will look cool; drag it to the right toward yellow, and itll feel more warm.
I usually increase the temperature a tiny bit because I like the image to look more warm than cool. If you play around with it, youll notice theres a very thin line between looking warm and looking VERY ORANGE so tread lightly with this one!
Youll notice that the photos in my feed have a pink-ish hue, and some of that is due to Tint. The tint slider gives you the option of a green-ish tint, or a pink-ish tint, so I drag it toward the pink (usually somewhere between +3 and +15).
9. Vibrance & Saturation.
Vibrance will give your photo a little extra oomph without being too overwhelming; saturation will give your photo a LOT of extra oomph. I usually increase the Vibrance to somewhere between +2 to +20, and leave Saturation in the middle. (Overly saturated photos are my pet peeve!)
10. Sharpening and Clarity.
Youll find Clarity underneath Effects and Sharpen underneath Detail but I usually do them in the same step because a lot of what they achieve is similar.
Sharpening will, of course, give your photo a sharper, more crisp look. I usually land in the +50 to +75 range. If you go too high with sharpening, your subject (assuming theres a subject in the photo) will start to look like a cardboard cut-out. Thats not really what were going for.
Be careful with clarity, especially for close-up portrait photos, because it can accentuate imperfections like wrinkles and blemishes. However, bumping up the clarity just a few notches can make the photo look more clear and crisp.
11. Color Mixer.

Heres where things get REALLY personal in terms of style and aesthetic. The Color Mixer is an area where you can have a lot of fun but its also not entirely necessary. If youre just looking for a clean, basic edit, and you arent obsessive about having a cohesive Instagram aesthetic, you can definitely stop here!
If you decide to use the Color Mixer, its the place where you can choose to play up/enhance certain colors, and decrease others.
For example, Im not a big fan of having yellow in my feed, so I always decrease the saturation of the yellows. I love the look of turquoise/blue (and youll see that in many of my photos) so I will usually increase the saturation of the Blue and Aqua sliders.
Color Mixer is also where you can control skin tone, and it will really differ for each person depending on your complexion. For myself if I look too pale or washed out and want to look more tan/bronzed, I go into the Oranges and decrease the luminance.
The most important thing to know about the Color Mixer is what the HSL functions do:
HUE = controls the actual tones of the color
SATURATION = deals with the intensity of a specific color
LUMINANCE = addresses the brightness of the color
12. Export from Lightroom.
There are other more specific adjustments I make after Ive done all of the above, but this is the bulk of it!
Once Im happy with the image, I export the file and save it to my desktop (if Im using my laptop) or save it to my camera roll if Im editing on my phone.
WHAT ARE PRESETS, AND HOW DO THEY WORK?
So! Youve likely heard people refer to presets as the secret to creating a beautiful Instagram feed. As I mentioned earlier, presets are an incredible way to step up your feed, give it a unique aesthetic, and create consistency throughout your photos.
Presets are essentially filters for your photos. The nice thing about them is that you can apply them to photos and it helps to create uniformity think of it like a copy + paste filter that youre applying to all of your images.
One thing that a lot of people dont understand about presets and something that I didnt understand until I started using them is that you still need to make adjustments after applying a preset to a photo. This is because every single photo has different qualities different lighting, different colors, etc.

A photo you take inside of your home under artificial lighting will look completely different from a photo you take outside in the morning or at sunset. Even if you were to apply the same exact preset on all three of those photos, theyll still look slightly different despite the fact that they share the same filter.
Does that make sense?
When applying a preset to a photo, I typically apply it first, and then still go through all of the steps listed above. I think of my preset as a nice starting point to ensure some level of uniformity among my images.
Because every creator creates his/her presets based on his/her individual photos, youll need to make tweaks in order for them to fit your photos. The areas that typically need the most adjustment, in my experience, are with skin tones.
I remember the first time I bought a preset from someone, I added it to my photo and I was APPALLED because I looked like an oopma loompa! The influencer had designed the preset according to her complexion and not mine, so when I applied it onto my photo, things lookedtotally of whack. (This is VERY normal its impossible to create a one size fits all preset.)
Once you learn how to make the adjustments, it becomes very routine and not that time consuming.
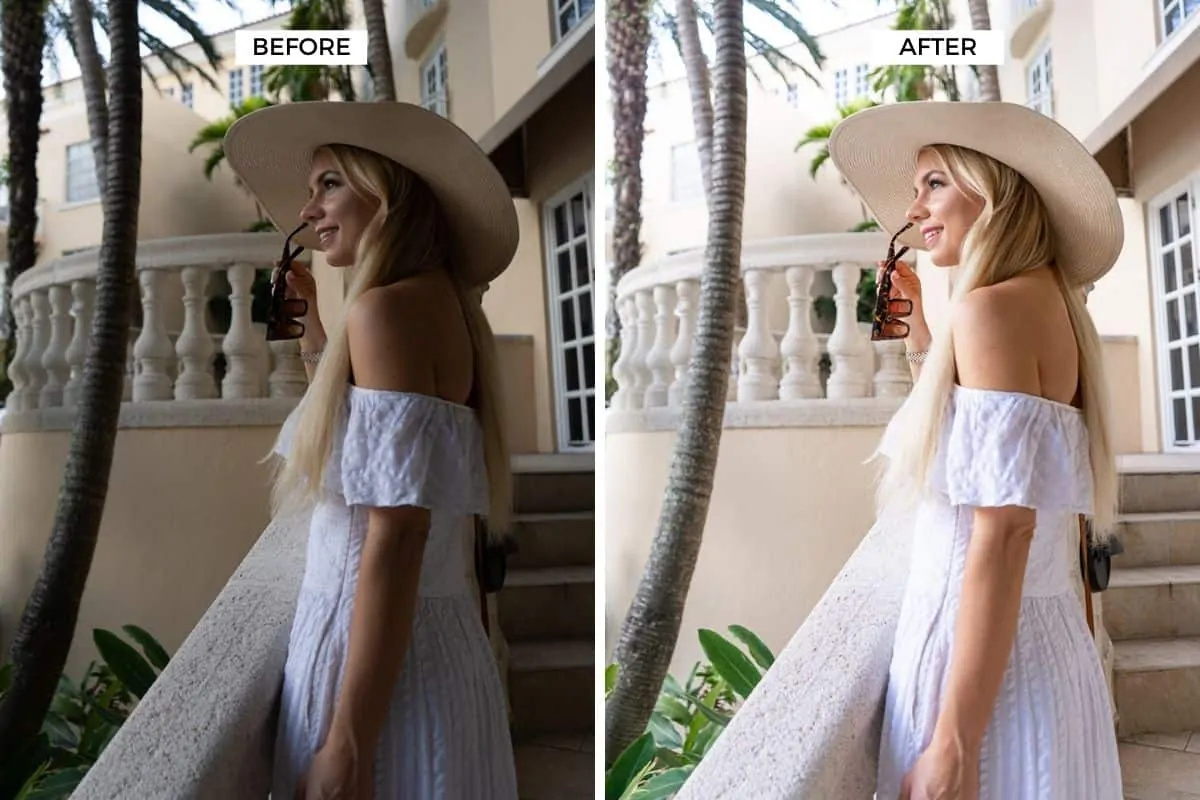
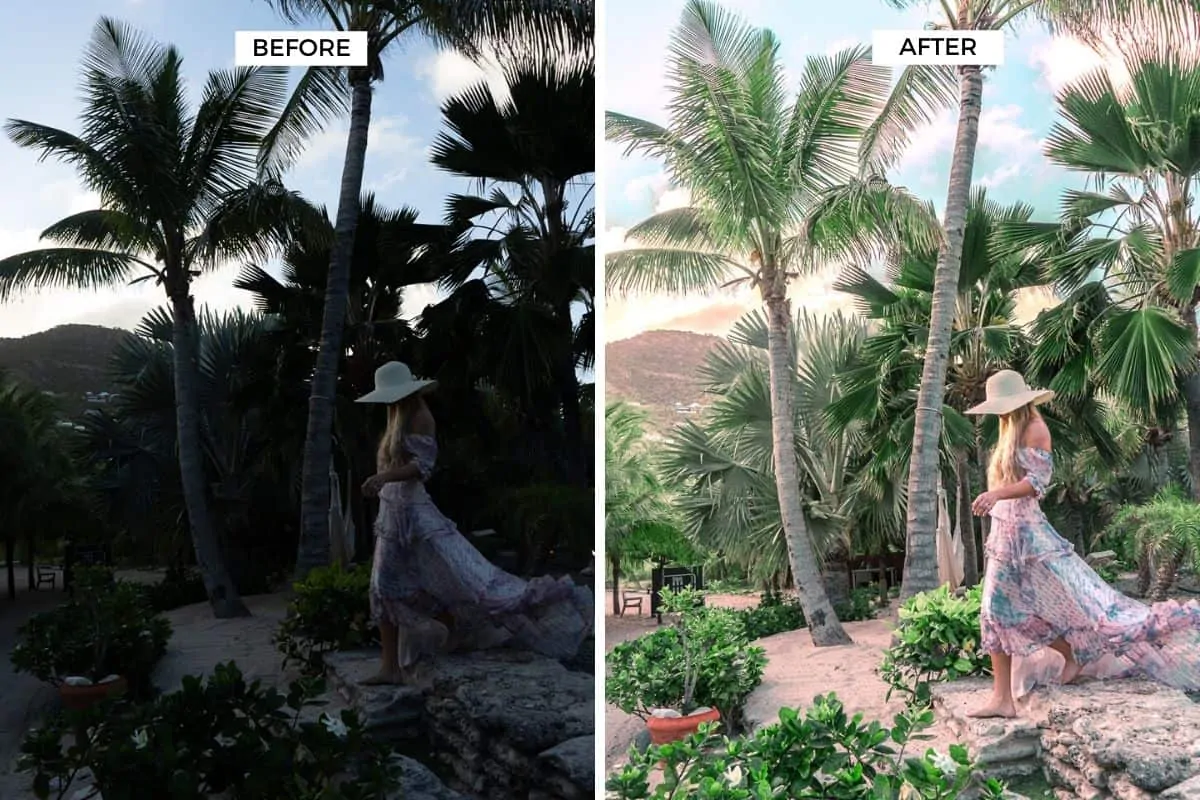
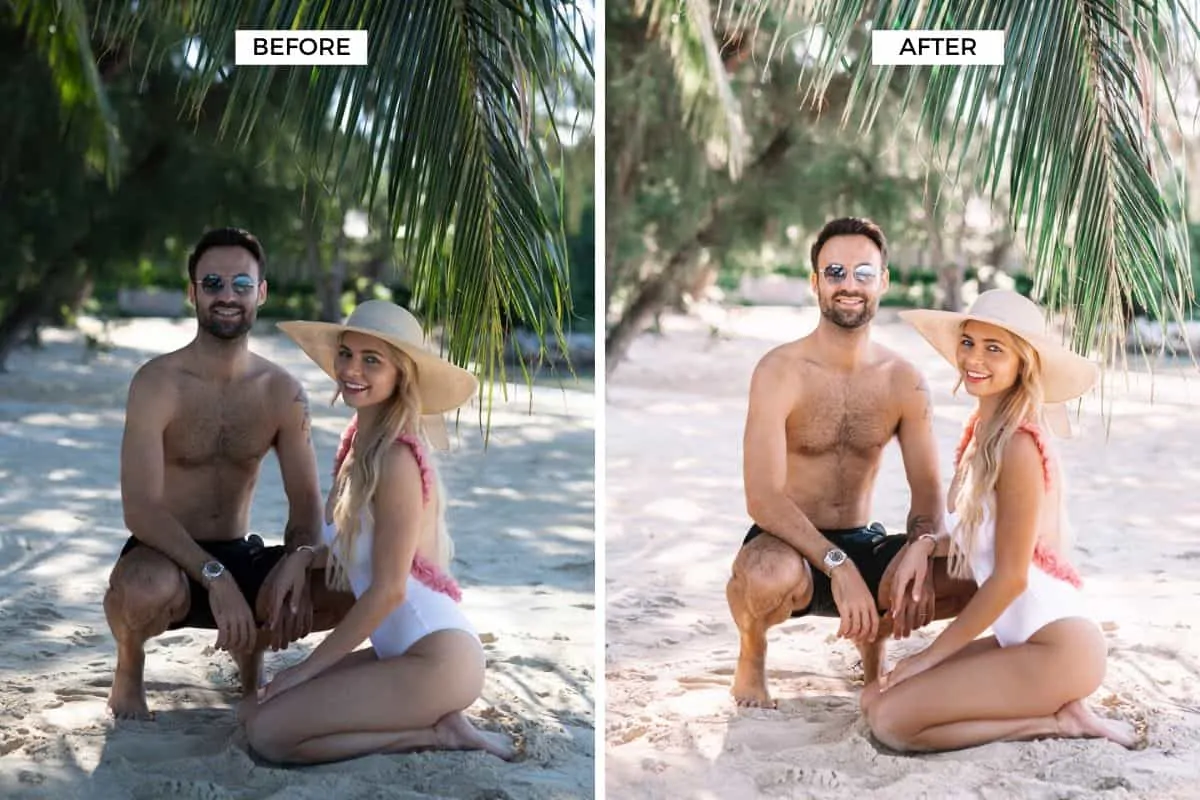
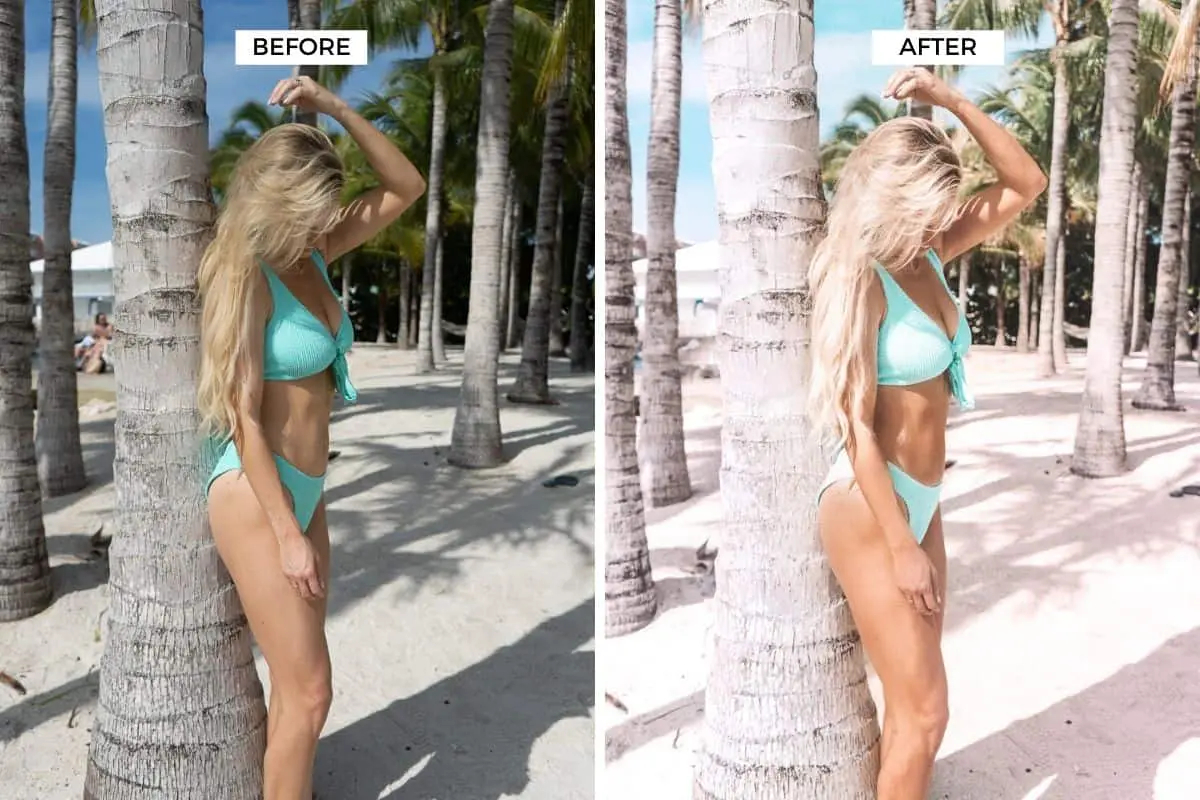
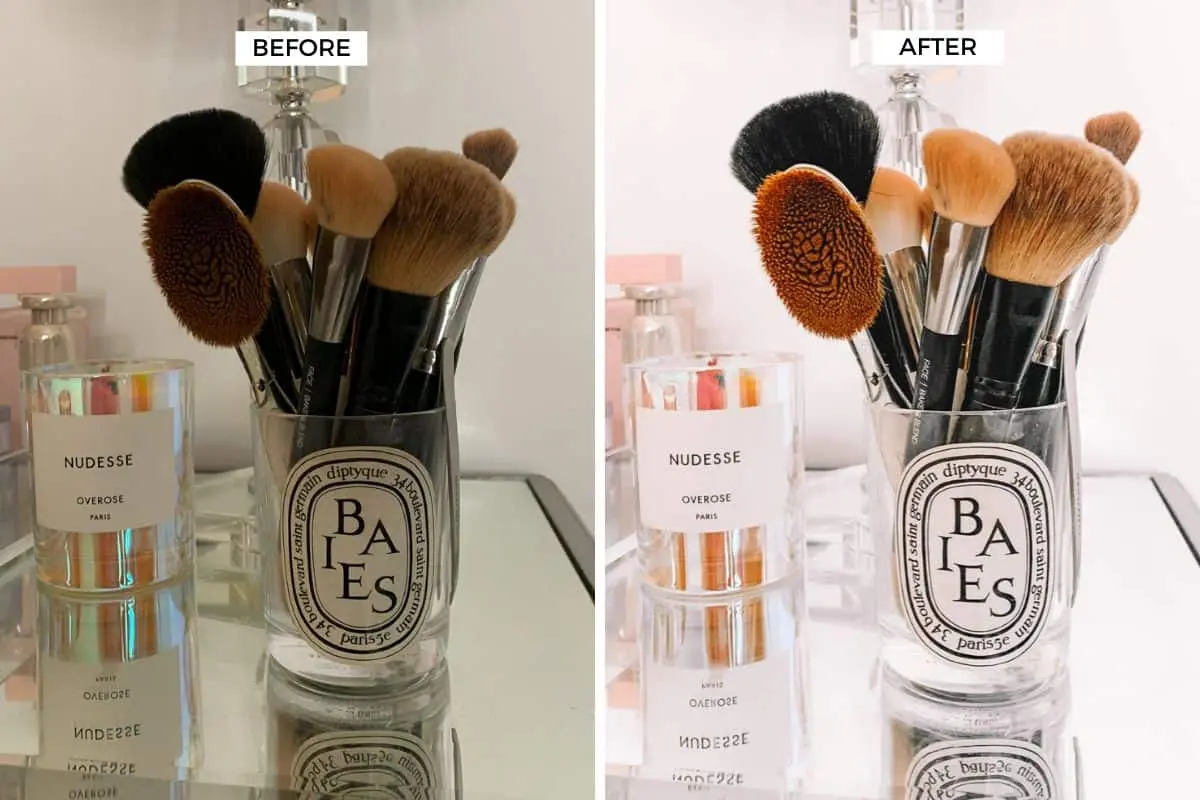
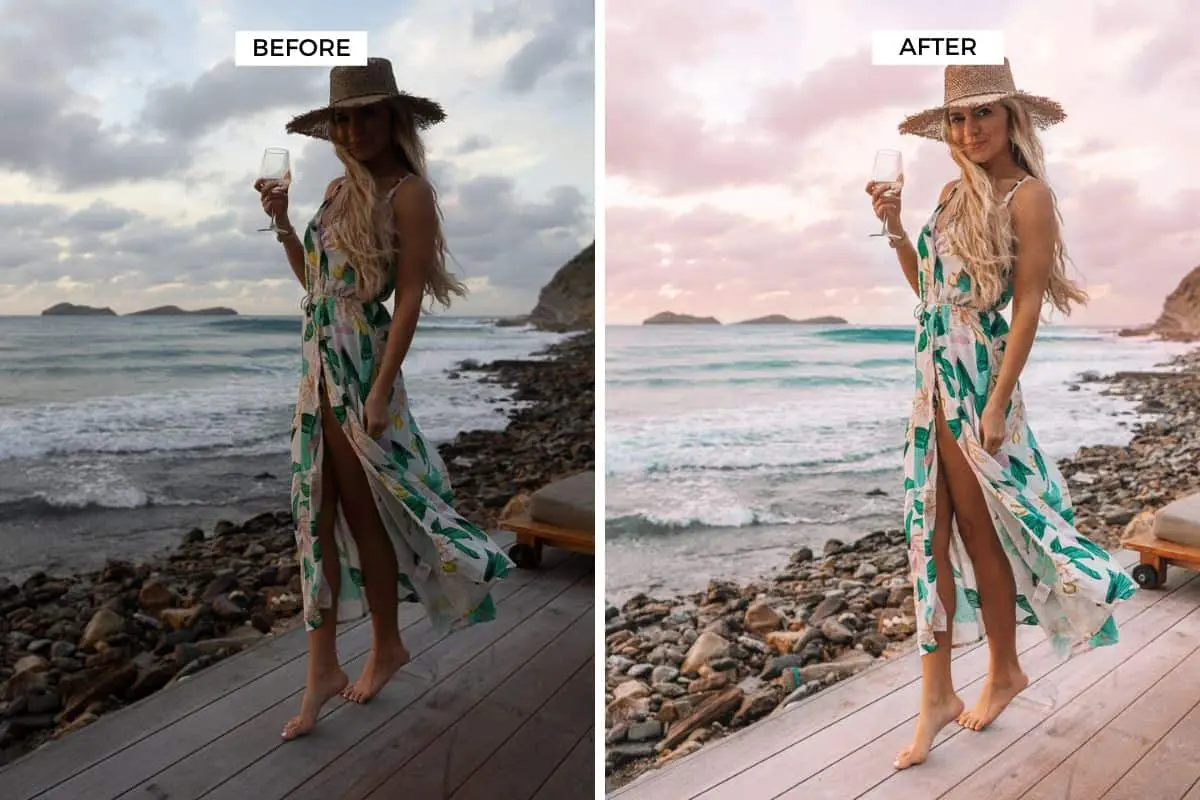
Here are some fun before/afters using a combination of the edits I described above as well as my presets. I tried to include a mix of indoor shots, outdoor shots, iPhone shots, product shots, and DSLR camera shots so that youre able to tell the magic of editing on just about any photo in any atmosphere.

There are a TON of questions Ive received in the past that I didnt have time to address here (i.e. using different apps on your phone, using an app to plan my feed, tips for shooting photos themselves) Ill address all of those in a separate post!
If there are any other questions that you have, leave them in the comments and Ill include them in my next blog post!
Pin this post for later:


