Tech Gear for Budding Musicians Recording Equipment on a Budget
Audio Production
5 Killer Tips for Recording Drums on a Budget
These days the internet is awash with musicians showcasing their music online. YouTube hosts thousands of hours of new footage each day of budding musicians displaying their talents.
For some, all you need is a laptop, but the story doesnt end there. While it may be easy for a guitarist, singer or even in some cases a pianist to create recordings that sounds just like professional recording studios from home, it can become harder for musicians who play other types of instruments, like the drums.
It is true that you can polish almost any recording, using the vast amounts of plugins available to us today. Or use affordable recording equipments to get decent quality recordings. However, even with the best plugins, how do you simulate a studio setting withan entire drum kit mic-ed up with a room mic?
There are no technologically perfect alternatives to an acoustically perfect room, made to record drums. Recording drums can get complex andexpensive. Some recording engineers swear by the most expensive drums microphones to record great sounding drums.
But you can record drums on a budget at least when youre getting started.
In this article, well get you started to recording drums in your home studio, all with the beginners budget in mind.Lets get to it.
1 Use What You Already Own
Interestingly, limitation often brings the best creativity out of people.
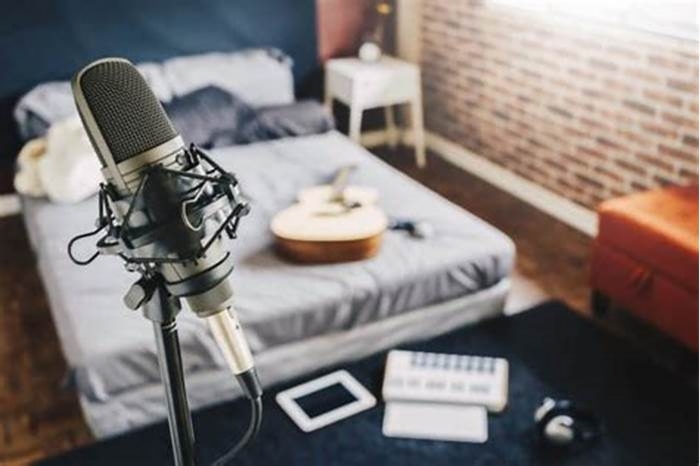
Do you have a single condenser microphone in your studio? Maybe you own a portable audio stereorecorder like the Zoom H1?
If thats the case, you already have the necessities required to record decent sounding drums. Believe it or not, there are many albums which had their drum parts recorded with just a single microphone. Of course, it wouldnt sound as great as if you would have a multiple mic setup. But here are some pointers to improve your drum recording if you only have one microphone.
Mic Placement Is Everything
Your microphone placement is whats going to make or break your drum recording.Recording great sounding drums usually depend a lot on the room sound.
So heres a simple guide rule. If you have great sounding room acoustics tuned in a way that a drum set sounds good in it, then experiment recording your drums with a condenser microphone with an Omni pickup pattern. If your room doesnt sound great, then make use of a cardioid microphone and experiment with different mic placements.

Do you want to capture more of the snare & kicks? Then put the cardioid slightly facing the kick and snare. Face the microphone upwards and youll risk capturing too much cymbal sound.
Kicks & Snares Are Your Allies

One of the most prominent things that we hear in drum tracks, is the snare and the kick. You could say that they are the most important components to the drum kit, besides the hi-hats.
If you have a one microphone recording setup, one way to get the best out of your recording is to have the mic at the middle, pointing towards the direction of the kick and snare. This way, you get more prominent sound from the snare and kick, while having hints of the cymbals and toms.
Use EQ, Compressions & Space Effects
First, you need to get the best sounding drums attainable with dry recording. To take your recording a step further, consider using high-quality effects on your recording.
Your drum recording can benefit a lot with careful EQ slicing to remove unwanted frequencies, especially the low rumbles of the kick and long trebly tails of the cymbals with a one microphone setup.
Then apply compression effect to the drum recording, to control attack transients that become too loud.
Finally, a great way to mix the drum track appropriately to the rest of your tracks, by applying a reverb effect emulating & giving some acoustical space to the drum recording, making it sound more live.
Just Use Whatever Works
The point is, use anything that works. More than often youll have useful tools that you can find lying around your studio.
Get creative and think out the box. Worst comesto worst, if you dont even have the budget for a cheap condenser microphone, another simpleway of recording drums at home is to use your smartphone or a cheap recording device you have lying around such as an MP3 player.
Definitely, results can be pretty poor. But what is interesting is you might just find a recording of your drums, that is usable in a way to compliment your music arrangement. Go get creative.
2 Start With Improving Your Room Sound
So lets go back a little here. You now see the possibilities to record drums at home with a single microphone.
But before you start recording, the most important factor to recording drums is the quality of room sound. There are two things you can do here, which Ill briefly explain below.
Tuning Your Drums For The Room
A drum that sounds great in room A, wont necessarily sound the same in room B given that the rooms have different size, dimensions or padding. The secret to getting your drum to sound good, is in tuning them. By tightening or loosening the drumheads, you can enable the drums to sound clear and improve its tone.
This can be simply done by pure listening. Sit down, use your ears and take the time to tune your drums, carefully finding that tone & vibe youre after. Youll see some studios getting creative by placing pillows and pads into the kick drum, removing that empty sound and giving the kick a more distinctive attack. Again, no rules here. Do what works.
Look Into Improving Room Acoustics
You dont need to carry out expensive renovations to improve your room acoustics. Here are few things to look out for.
Remove room reverberations.
Unwanted reverberations, think metallic ringing, odd-reverbs are your enemies. These sort of problem usually occur in smaller rooms with parallel walls.
Heres how to find out if your room has reverberation problems. Listen carefully for the harsh sound bounces, as you hit a snare drum with a drumstick. Move around the room and listen for areas in the room that you hear that harsh feedback ringing.
Once youve identified the problem areas, then its time to set out to tame them.
Id recommend you start with a few bass traps. Bass traps are commonly bigger & denser pieces of foams that go into the corner of your studio walls. They absorb higher sound pressure level, which is what youd want with drums.

Bass traps are usually fitted at the corners of the room.
Once you placed bass traps in your studio, youll find that youve cured most of the unpleasant sound reflections. However, bass traps absorb bass & mid frequencies better. Thus, you might find the brightness of the drums, especially the sizzle of the cymbals become too annoying. In this case, get a few acoustic panels to compliment the already set bass traps.
Acoustic panels are thinner and do almost nothing to absorb low frequencies. However, they are usually cheaper and you can use them to cover parts of your studio wall which are not padded. A quick trick is to use the acoustic foams to make your studio walls as uneven as possible killing any parallel walls. This way, sound bounces around your room more randomly, losing the reflection thus deadening reverbs in the room.
Putting live back into your room
Ironically after putting up acoustic panels in your studio, you run into the risk of having a dead, unnatural sounding room.
What many small home studio owners do at this point is to use some diffusers, to put back the live into their rooms. Diffusers allow reverb to decay more naturally compared to sound absorbers which simply absorbs the sound energy. They can also help make small rooms appear to sound larger. As you alter the reflections that occur in your room, sound bounces around more irregularly, taking a longer time to reach back to your ears. That gives you the illusion of a bigger room.
Heres a good video explanation on diffusers:
3 Investing In A Decent Audio Interface & Microphones
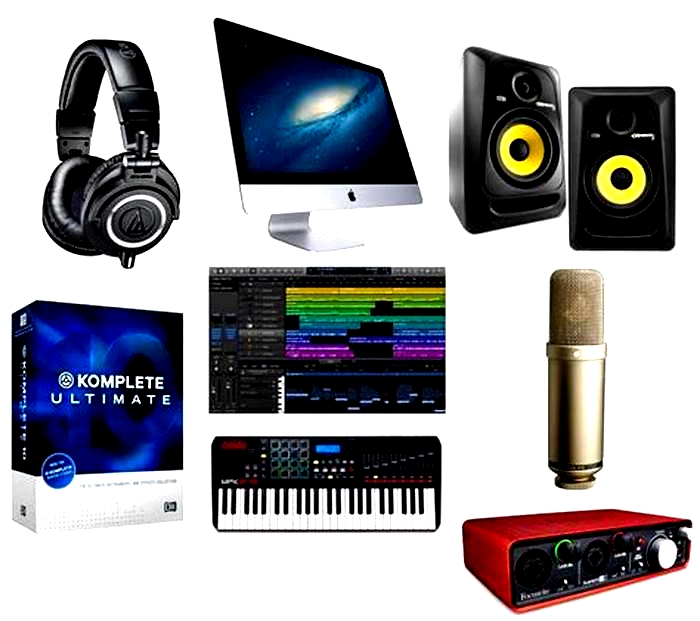
While a one microphone technique for recording drums work, sooner or later, you are going to outgrow it. When that happens, its time to look for an audio interface with enough I/O for drum recording. I/O stands for Input & Output referring to the number of inputs & outputs available on the device.
Audio interfaces are generally external sound cards, that are built for professional audio recording. The more I/O the audio interface has, the more expensive it gets. But why do you need an audio interface? Shouldnt you get a mixer?
See, ideally, you want to be able to individually control and mix every drum component during mixing. Sure, getting an affordable analog mixer would do the job, but you would have to mix onboard. With the power of plugins & DAWs today, its wiser to mix your tracks on your computer if you dont have a crazy huge budget to buy a full mixing console.
Fun Fact: Mixers were called mixing consoles, because they fill up the whole studio. Albeit like a spaceship!
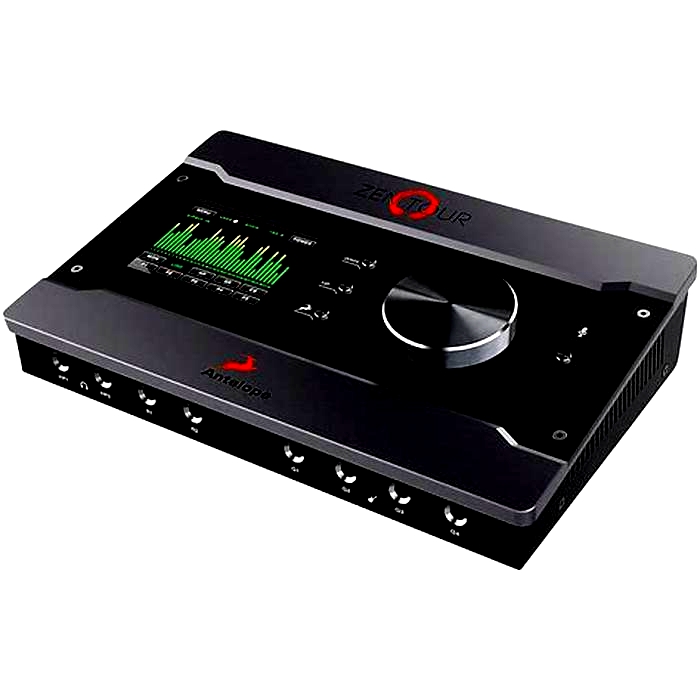
These days, you could get audio interfaces with a decent amount of I/O under $200. You can see this post for a list of the best audio interfaces available for under $200.
In order to record drums its good to look for at least four inputs, but preferably 8, channel inputs. This will allow you to mic and record the drum kit from numerous angles and positions.
If youre tight, you can get something like the Tascam US-4X4 for under $200 which will record four inputs at once.
Another suggestion that I found worked for me in the past is to get something that does it all. Zoom makes a lot of devices like this, for example, the LiveTrack L-12. Its a digital mixer + audio interface + portable recorder that simply gets the job done. Sure, it doesnt come with the best-built knobs/faders or greatest sounding pre-amps. But it works. You can actually record great audio with it and besides, when its time for more, you can invest in separate hardware pre-amps to compliment.

Im constantly in awe of how affordable it is to get into recording these days. The Zoom LiveTrack L-12 costs only $599. Whats left to make great music are your skills!
Got my audio interface checked. What about microphones?
As mentioned earlier, if youre limited by budget, start out with one microphone. Generally, the crucial components of the drum that needs to be recorded are the bass drum and snare.Got extra budget? Then slowly invest in extra microphones and mic up the other components, hi-hats, cymbals and tom-toms.
In many cases, just one snare mic, one bass drum mic and a pair of overhead microphones will do.
Now, Im sure youve seen cheap drum microphone sets (like the image below) that cost less than $110 a set. 7 microphones in a set for less than $110!

And I bet youll be tempted to buy them for your studio.
A piece of advice. Dont.
Yes, cheap drum microphone kits like this actually work. However, since were focusing on recording and not getting that live-stage sound. Youll be dismayed to find microphones from kits like this, to be quite noisy and they dont record very high-quality sound. Not something you want for a recording. I learnt this early on in my recording career.
Rather than getting cheap drum kits like this, it is wiser to start with one better microphone and then buy more microphones more as you go.
So heres how you choose your microphones
I recommend starting with a condenser microphone like the Audio Technica AT2035. Why not other budget condenser microphones? Well, simply because the AT2035 is able to handle high SPL (sound-pressure levels) and more importantly, it comes with a low-cut & -10dB switch both of them are a godsend if youre recording drums in a small room.

Your second microphone should be a dynamic microphone. Id recommend getting the Shure SM57, the all-legendary microphone that records anything. The SM57 is often used to record snares. In fact, it can be used to record any drum component with pretty good results. And because its built so ruggedly, you wont get scares if your drummer accidentally hits it when performing.
Finally, consider getting a pair of overhead microphones to record from the top of your drum kit. With budget in mind, you can do this with a pair of large diaphragm condenser microphones, like the Audio Technica AT2020. However, the job of overhead microphones is usually to capture the brightness of the cymbals and also the overall image of the drums. And small pencil condensers are usually fitted better for this, as they record more naturally. A nice budget microphone to consider for overheads is the Rode M5 pencil small-diaphragm condenser pair which comes in below $200.
Going for the record button
With all your microphones and audio interface in place, the next steps is to experiment on microphone placements. Try different placements and just record
Just a few more tips on this one.
With recording, its important to ensure that the levels are at optimal settings. Start with your overhead mics, placed just above your head, but not too close as to hit it. This will capture the whole kit and the sound of the room. The basic idea of mixing is to blend these overheads with the tom, snare and bass drum mics to create a nice mix.
You can monitor the level of each microphone on the corresponding channel in the DAW. If you are getting a distorted sound, you may need to adjust the direct volume level on the audio interface.
Once you have the kit sounding well you can play with each mic level within the DAW. It might take some time to figure out where to place the mics where it sounds best to your style and taste. Get your drummer to play at the chorus of the song and make sure no mics are clipping as you monitor and adjust the gain knobs appropriately.
5 Mix Real Recordings With Samples

A little secret I know many bands and musicians recording drums at home use is layering their drum sounds with samples or midi plugins. Getting the right balance of live drums and midi drums or drum samples can give your recordings more depth and character while maintaining the authenticity of the recording or musician being recorded.
I love doing this. Where you produce music shouldnt dictate the quality of your recordings. You dont have a great room to record drums in, make use of audio loops and samples! You can get plenty of drum samples quite affordably at sites like Loopmasters. If you like playing them, drum samplers from Native Instruments or Addictive Drums, work pretty well.
Of course, using loops & samples means that youll lose that energy and soul that youll get from recording a real drummer. However, the trick here is to use both real recordings and samples. Swap out drum tracks and mix better-sounding drum samples with it. Do this correctly, and youll see how much naturalness youll be able to retain while improving the overall drum sound.
I know many music producers, especially drummers are going to point me out at this point.
But you know what? At the end of the day, Im obsessed with the end results. Thats what music listeners want anyway. They simply want to enjoy/relax/get pumped, listening to music. Nobody cares about how you meticulously played that riff a thousand times before recording it or if you used 100 microphones to get that perfect snare sound.
Conclusion
The strange thing about recordings is that sometimes more equipment does not mean better results! Having a full-blown 8 microphone setup to record drums might bring you more problems with phase issues.
Sometimes having a single microphone setup makes sense depending on the sound youre looking for.
What are your tips on getting great drum sounds on a budget? Let me know in the comments below!
About the Author Shree has been drumming for 16 years and is mad about music production. He writes online at Ghostnotes Blog and covers everything from drumming and music gear to band management and music marketing.

